-

- 11 Kitchen Renovation Mistakes GTA Homeowners Make (and How to Avoid Them)
11 Kitchen Renovation Mistakes GTA Homeowners Make (and How to Avoid Them)
A kitchen renovation is one of the largest investments most homeowners make in their home, and it is also one of the easiest to get wrong. The mistakes that cause the most regret are rarely dramatic. They are small decisions made early — a measurement not double-checked, a hood chosen for looks, an order placed before the appliance specs arrived — that only reveal themselves months later when everything is installed and impossible to change.
Castle Kitchens has been designing, building, and installing custom kitchens across the GTA for years, and we do it end to end — the cabinetry is drawn, built, and finished in our own factory rather than ordered in from a third party. That means we are on site when these mistakes surface, and often the ones asked to fix them. Here are the eleven we run into most, and what to do instead.
1. Choosing Finishes Before the Layout Is Settled
It is tempting to begin with the fun part — door styles, colours, hardware. But those are the decisions that should come last. Layout comes first: where the sink goes, how the work triangle flows, whether the fridge door swings into a walkway, how two people move through the room at the same time.
Cabinetry itself needs to be planned early, because the layout is the cabinet plan — sizes, runs, where the tall units land, how the island is built. What waits is the surface layer: finishes, profiles, hardware, and the production order itself.
We have seen beautiful doors installed onto layouts that never worked, and no finish can fix that.
Do this instead: settle the floor plan and the appliance positions first, plan the cabinet layout around them, and leave door styles and colours until the plan is locked.
2. Ordering Cabinets Before the Appliances Are Confirmed
This is the single most expensive mistake on our list. Appliance dimensions are not standard. A 36-inch column refrigerator, a 48-inch pro range, and a panel-ready dishwasher all have specific cutout requirements, clearance needs, and panel dimensions that vary by brand and model.
If cabinets go into production before the model numbers are locked in, you are either paying to rebuild them or forcing an appliance into an opening it was never designed for.
Do this instead: choose your appliances first, collect the specification sheets, and release cabinetry to production only once those numbers are confirmed. This is one of the reasons we keep a full appliance showroom alongside our cabinet operation — the two decisions belong in the same conversation.
3. Undersizing the Ventilation
Ventilation is the most under-planned part of most kitchens. Homeowners choose a hood because it looks right above the range, then discover it cannot handle the output of the range underneath it. A professional gas range producing high BTUs needs serious extraction, correctly sized ducting, and a short run to the exterior.
Recirculating hoods have their place — in condos and interior layouts where an exterior duct is not possible, a good one with proper filtration is far better than nothing. What they cannot do is match an exterior-vented system for removing heat, moisture, and cooking contaminants from the room, and that gap widens as the range gets more powerful.
In tighter Toronto homes there is a second issue: powerful hoods pull air out faster than the house can replace it, which can cause backdrafting from other gas appliances. That is a make-up air problem, and it needs to be solved on paper, not discovered after the drywall is up.
Do this instead: size the hood to the range, confirm your duct route early, and ask whether make-up air is required. Our ventilation range includes both integrated and custom range hoods that can be built into the cabinetry.
4. Choosing the Range Before Understanding How You Cook
Gas, induction, and dual fuel all cook well — they just cook differently, and they carry different requirements. Induction needs the right cookware and an appropriate electrical supply. Gas needs a line and stronger ventilation. Dual fuel splits the difference and usually costs more.
Buying based on what looks impressive rather than how you actually cook is how homeowners end up with a 48-inch range used for weeknight pasta.
Do this instead: be honest about your cooking habits before you shop. Our comparisons of gas vs. induction ranges and dual fuel vs. induction ranges break down the practical differences, and brands like Thermador, Miele, Bertazzoni, and La Cornue each approach them differently.
5. Getting the Island Wrong
Islands cause more regret than any other single element. The most common errors are an island that is too large for the room, walkways that are too narrow, seating with no real legroom, and a cooktop or sink placed on the island without any thought given to ventilation or plumbing runs.
An island should make the kitchen work better. If it forces people to squeeze past each other, it has made things worse.
Do this instead: plan clearances before you plan the island itself, and confirm overhang depth if you want seating. Our guide on how to design the perfect kitchen island covers sizing, seating, and storage in detail.
6. Judging Cabinets by the Door Instead of the Box
Two kitchens can look identical on installation day and be nothing alike five years later. The difference is in what you cannot see: the box construction, the drawer boxes, the hardware, the edge banding, the finish process.
Doors are what get photographed. Boxes and hardware are what determine whether drawers still close properly after a decade of daily use.
Do this instead: ask what the boxes are made of, what hinges and slides are used, and how the finish is applied. Our comparison of MDF vs. solid wood cabinets explains where each material genuinely performs better, and our custom cabinet buying guide covers what to look for in construction.
7. Treating Storage as an Afterthought
Most kitchens have enough cabinetry and not enough usable storage. Deep corner cabinets swallow everything placed in them. There is nowhere sensible for baking sheets, spices, garbage and recycling, or the small appliances that live on the counter because they have no home.
Do this instead: inventory what you own and where it should live before the design is finalized. Purpose-built storage solutions — deep drawers, pull-outs, tray dividers, integrated waste — cost far less to build in now than to retrofit later.
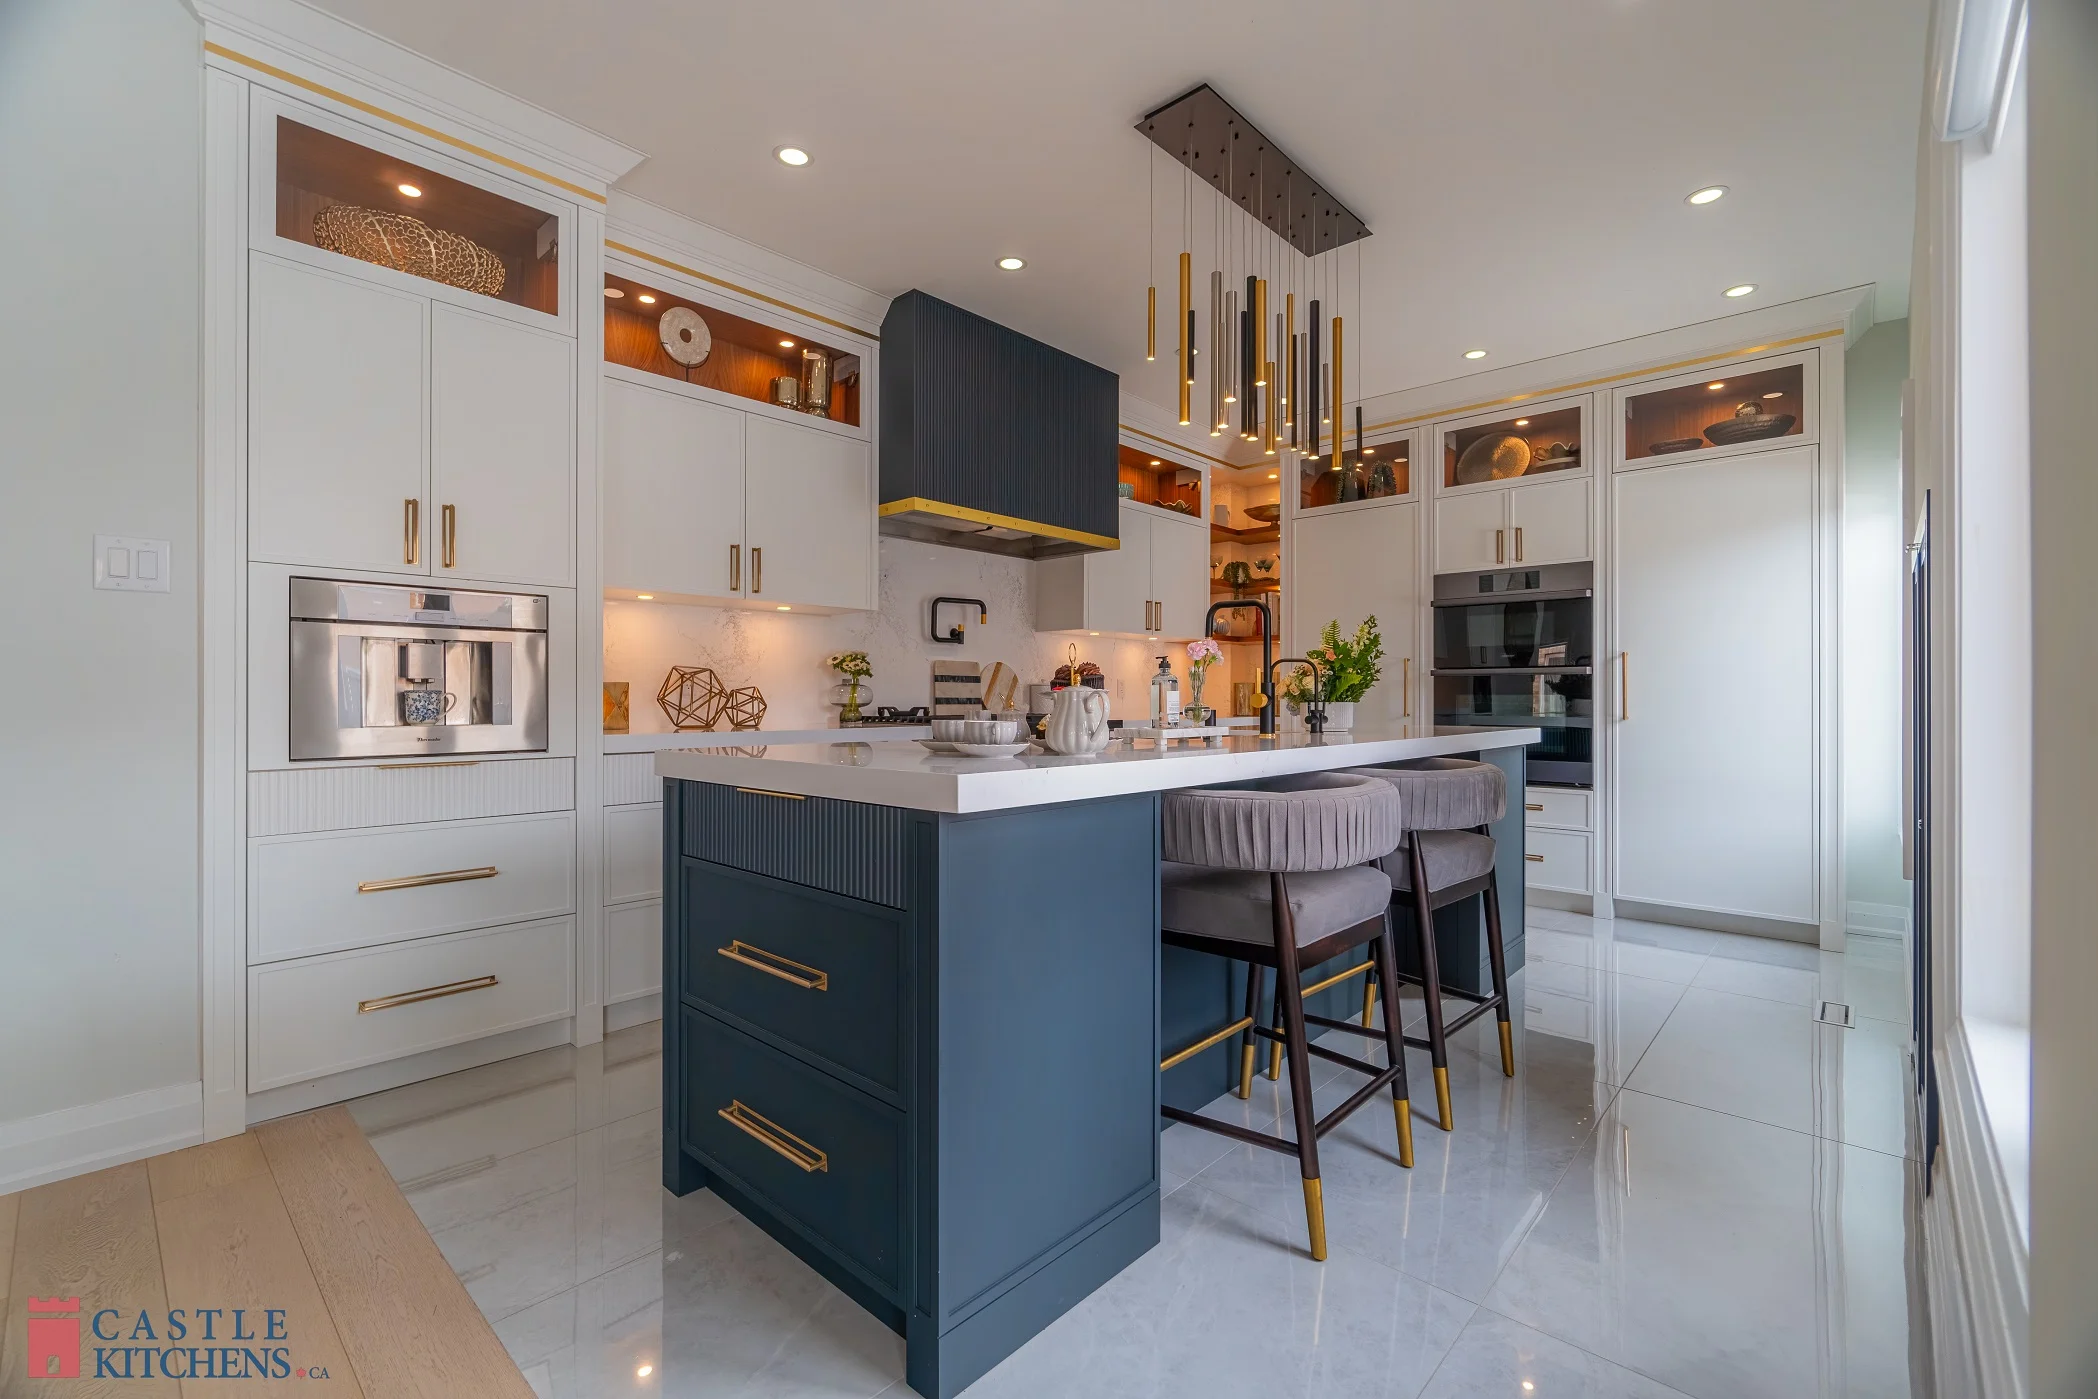
8. Ignoring the Lighting Plan
Lighting is usually reduced to a row of pot lights and a pendant over the island. That leaves you standing in your own shadow at the counter and a kitchen with only one mood: fully on.
A good plan has three layers — ambient light for the room, task light where you actually work, and accent light for glass cabinets, toe kicks, or open shelving.
Do this instead: plan lighting during the design phase, while wiring is still easy to move. Under-cabinet task lighting in particular has to be decided before electrical is roughed in.
9. Choosing Countertops on Looks Alone
Every countertop material trades something away. Natural stone offers character but often needs sealing and can stain. Engineered quartz is consistent and low-maintenance but has heat limits. Marble is beautiful and will patina no matter how carefully you treat it.
Homeowners frequently choose from a small sample under showroom lighting, then are surprised by how the veining reads across a full slab.
Do this instead: match the material to how you cook and clean, and view full slabs where possible. Our quartz vs. granite comparison covers durability, maintenance, and cost side by side.
10. Budgeting With No Contingency
Renovations in older Toronto and GTA homes uncover things: outdated wiring, plumbing that is not where the drawings said it was, subfloors that are not level, structural surprises behind a wall you wanted to open up. None of this is unusual, and all of it costs money.
A budget with no room in it turns a normal discovery into a crisis, and usually gets solved by downgrading finishes at the end of the project — exactly the part you will look at every day.
Do this instead: hold back ten to fifteen percent of your budget as contingency from the start. Our Toronto kitchen renovation cost guide breaks down where the money actually goes at each budget level.
11. Hiring the Designer, Cabinetmaker, Appliance Supplier, and Installer Separately
When four parties are responsible for one kitchen, the gaps between them become your problem. The cabinetmaker builds to a drawing that predates the appliance change. The installer discovers the hood duct has nowhere to go. Everyone is technically correct, and you are the one absorbing the delay.
Do this instead: keep design, cabinetry, appliances, and installation under as few roofs as possible, and make sure someone owns the coordination between them.
Which Mistakes Matter Most?
If you take only one thing from this list, confirm your appliances before cabinetry goes into production. It is the mistake with the highest cost and the fewest good fixes.
The second is ventilation. It is invisible in photos, easy to underspend on, and difficult to correct once the ceiling is closed and the duct route is set.
The third is contingency. Projects rarely fail on design. They fail when an unexpected cost forces a series of compromises in the final weeks.
Plan Your Kitchen With Castle Kitchens
Because we run our own cabinet factory, nothing about your kitchen gets handed off to a supplier who was not in the room when it was designed. Every box, door, and panel is built to the drawings we produced for your space, which means an appliance change, an awkward ceiling height, or a wall that turns out not to be square gets solved by the same team that drew the plan — not absorbed as a delay while a purchase order is revised.
It also means we are not limited to standard cabinet sizes. Openings are built to the specification sheet for the exact appliance you have chosen, and every job is field-verified on site before production so that the real dimensions of your room, not the drawing’s assumptions, determine what gets built.
That cabinetry sits alongside a full appliance showroom carrying Gaggenau, Thermador, Miele, Monogram, and Dacor, so the appliance and cabinet decisions happen in one conversation rather than two.
We work with homeowners across Toronto, Markham, Richmond Hill, Vaughan, Thornhill, Mississauga, North York, and the wider GTA — from single-room renovations to full custom builds. You can see completed work in our project portfolio or browse luxury kitchen appliances before you visit.
Final Thoughts
Almost every mistake on this list is a sequencing problem rather than a taste problem. Settle the layout before the finishes, confirm the appliances before cabinetry goes into production, and solve the ventilation before the ceiling closes, and most of the expensive surprises disappear. The kitchens that go wrong are rarely the ones with the smallest budgets — they are the ones where decisions were made in the wrong order.
Visit our showroom to plan your kitchen with a team that handles the cabinetry, the appliances, and the installation together.


